

Yet, another binding technique! So many to choose from!
There are many different ways to bind a quilt. In fact, all three of us here at Sew Kind of Wonderful, bind our quilts just a little different from each other. Today's tip is just one more way to bind a quilt. This method uses the sewing machine from start to finish.
Begin with your desired width of binding. 2 1/2 inch binding is pretty standard but depending on the batting or other factors, a wider or thinner binding may be preferred.
With right sides together place your pieces together as shown here. Overlapping the pieces ensures the edges line up a little more precisely.

Sew from corner to corner. A piece of tape is helpful as a guide, or a diagonal line drawn on or just eyeballing it all seem to work.

Trim a 1/4 inch from the seam then press seams open. Determine the number of pieces you'll need for your project and join all pieces as shown here.

Exactness is not always necessary. Sometimes Close enough is good enough! :)

With wrong side up, fold the right corner down and press.

Then fold the left side over to match the right and press the whole piece of binding as shown here.

For this particular method, start by using a 1/4 inch seam allowance, begin stitching on the back side of the quilt. Choose which side to start on and begin stitching about 10 inches from the end of binding so as to leave about a ten inch binding tail.


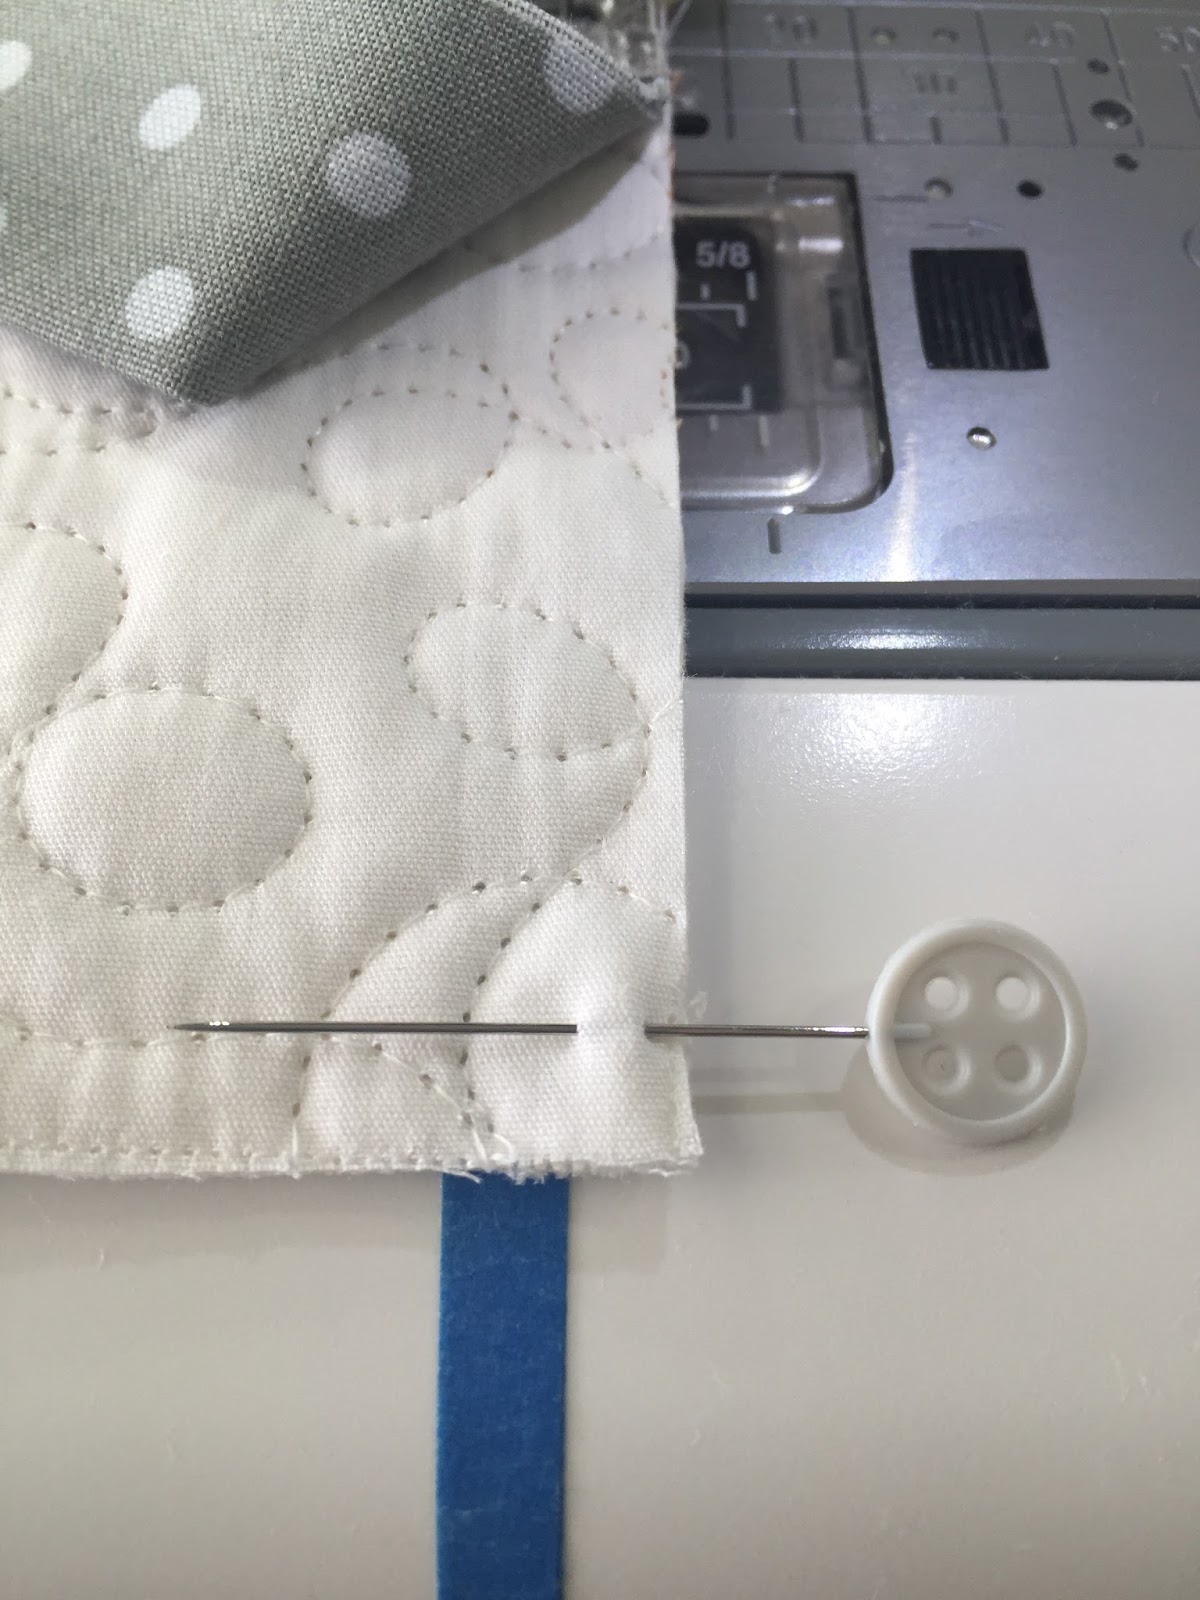
Eyeball or measure a 1/4 inch from the end and mark it with a pin. Stop stitching at the pin and back stitch if desired.

Mitered corners...
Fold binding up to form a right angle...

Then back down so the raw edge of binding lines up with edge of quilt. Should resemble this.

Pin if desired.

Begin stitching from the edge, be sure to remove pins.


Should resemble this.

Continue around the rest of the quilt then stop when there is about 20 inches between beginning and ending stitching...should have two binding tails at the beginning and end.

Lay ending tail over the beginning tail and trim so it resembles this.

Next, lay the pointed beginning tail on top of the ending tail with binding laying flat, straight and lined up with edge of quilt. Place a pin on the ending tail right where the beginning tail point lies. Be sure the pin is through the top layer only of the binding.

Open beginning binding and place the tip (top of fold) right where the pin is. Careful not to move binding, take out the pin and pin the two pieces of binding together. When both pieces of binding are opened and ready to pin, it should resemble this. Notice which way binding is flipped and right sides are together.


Place two more pins to secure binding in place. Should resemble this.

Stitch binding from corner to corner, along the fold line. Be sure to remove pins.


Trim excess a 1/4 inch from seam.

Press seam open...

Then press binding in half.

Next, lay "invisible joined" binding along edge of quilt and finish stitching the binding to the quilt. Add a few pins, if desire, to avoid any minor puckers.

Turn the quilt over and begin stitching the binding to the front by folding binding over the edge of quilt. Using a thread that blends well, stitch as close to edge as possible.

Continue stitching until a few inches from corner...

For a nice mitered corner, fold binding so it resembles this...

Careful to hold corner in place, continue stitching until needles catches the upper binding...

Lift foot and turn quilt, continue stitching on edge of binding.

Should look similar to this.

Continue around quilt until right before the end.
With a couple of inches left, pin binding down to avoid puckers.

Finish stitching and give a good iron press around binding if desired.

This is a quick and relatively easy way to bind a quilt. Again, there are many different binding techniques. Choose one you are most comfortable with. I think we all agree, hand stitching the final binding stage finishes the nicest, but for a quick finish, this works great! :)
Happy Quilting and Binding Everyone!
~Sew Kind of Wonderful~
11 comments:
Thank you for this visual tutorial!
Your method is very similar to mine, except for the corner. I find it helpful to first fold down the new side's binding UNDER the current side's binding. It allows your presser foot to go smoothly from "high" to "low" thus preventing the presser foot from catching on a "high" diagonal fold.
Love your rulers: ALL of them!! "Genius" comes to mind.
Karee
thanks for the tutorial. I've never been able to do the join of the strip on the first try, but this looks easy and clear cut: I'm going to use it next time!! Hugs, Helen in Healdsburg
Awesome tutorial. Love how you joined the ends-genius! Hand stitch-smand stitch, use a decorate stitch to sew that sucker down. I have a go to stitch I use. It's how you know I made it, I've turned it into my 'signature' of sorts.
LOVE LOVE The quilt. What is the name of the pattern.
Thanks
Thank you for the great tutorial-can't wait to try it when finishing my next quilt.
This is a great tute and I have used it on several quilts already. I always wish my topstitching were better but I believe that takes practice. On children's quilts, I have used a decorative design, but I really prefer the straight stitch. Thanks again.
This is exactly how I do my bindings. This technique saves so much time and looks great. I love your adorable mini pumpkins!
Very helpful information. I've moved to machine binding this year. If I take my time it looks great. Thanks for these tips.
Great tutorial. I've never tried this but your pictures and instructions are very clear. Thanks!
A question though.... Would you share the name of the quilt pattern?? I'm a pumpkin collector and love this modern take on a pumpkin quilt.
Very helpful.
Well explained and photo illustrated.
Thank you.
Wonderful tutorial! I'm so excited!! Just purchased both the QCR and mini. Can't wait to get started using them!!
Post a Comment