Tuesday Tips have arrived!!
Today's tips...Squaring up Metro Rings blocks with step by step detailed picture tutorials.
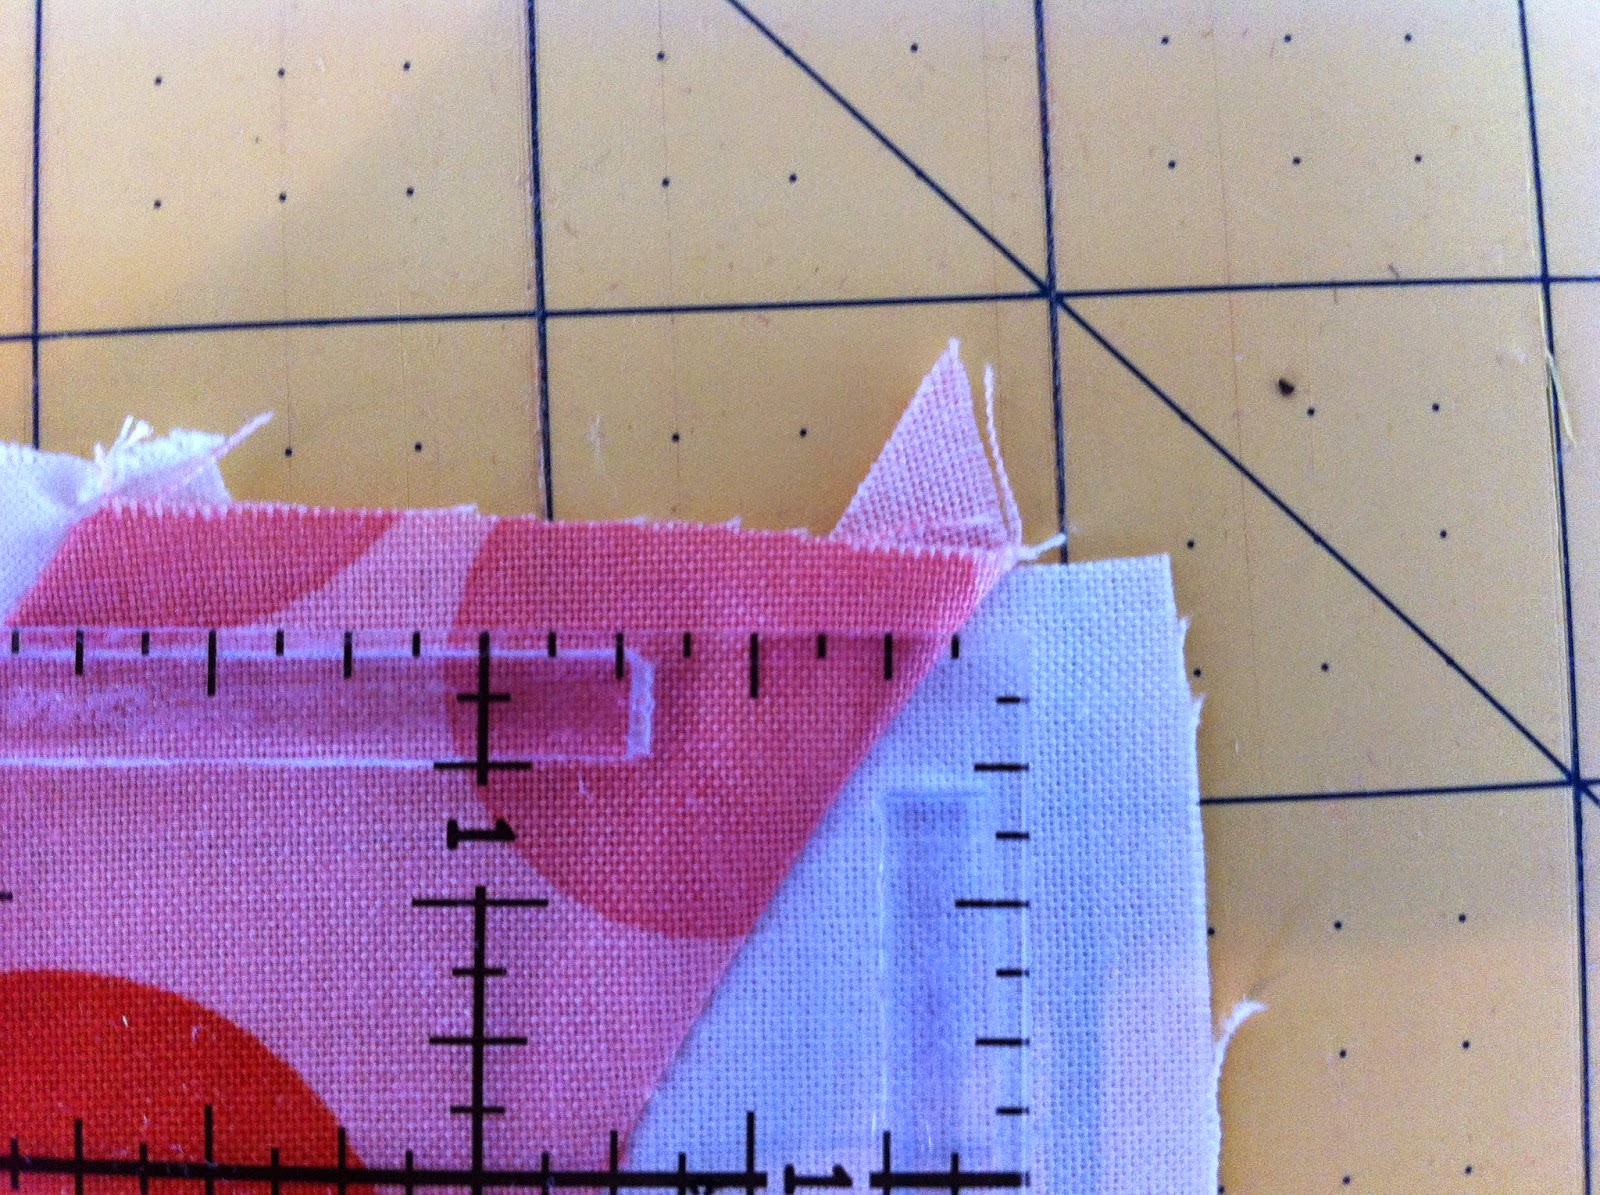
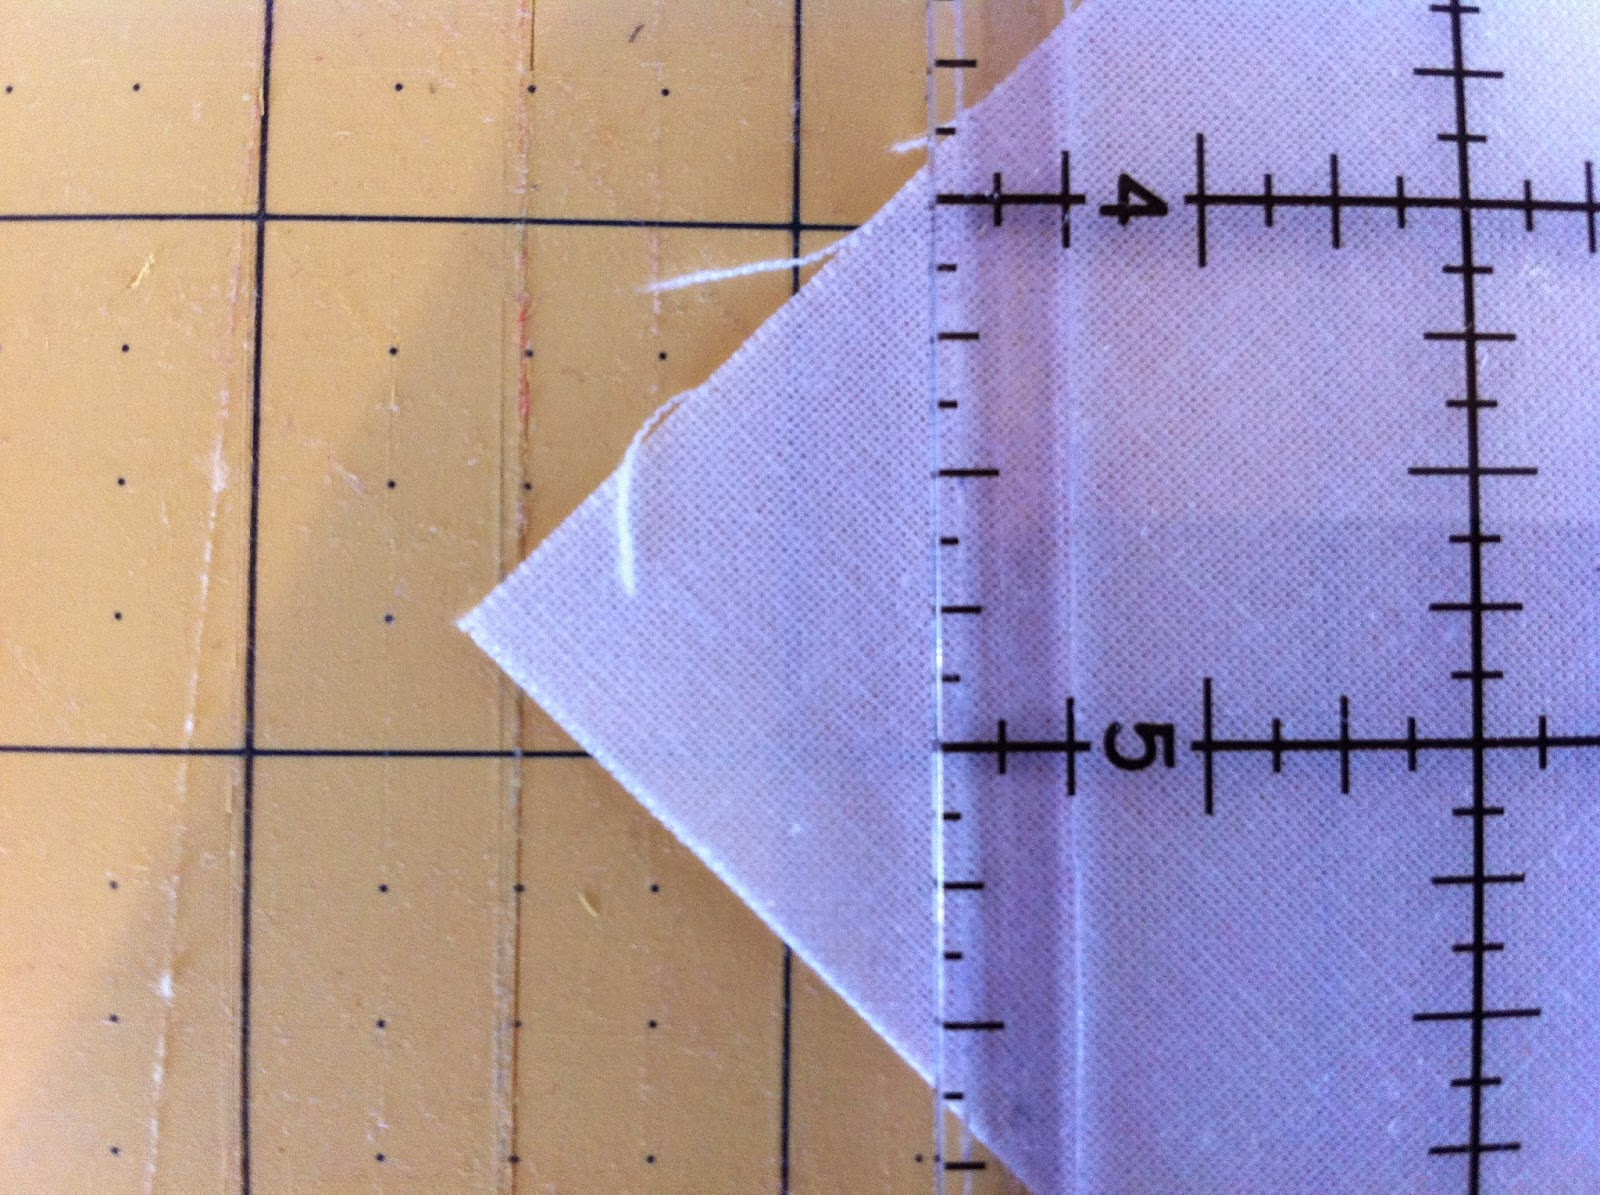
First, we'll start by squaring up the W/P/T block. Position QCR on block and center right curved seam under ruler's 1/8" marks and line up point of block with ruler's 4 3/4" mark.

Be sure point on block is lined up approx. with
4 3/4" mark on QCR. You may need to slide ruler up or down a bit to get the point lined up.
After all "points" are lined up, trim right and top edges of block. Next, lift QCR and rotate block 180* then re-position QCR by lining up trimmed edges with the 4" and 9 1/2" lines on ruler - trim remaining TOP edge only.
After these blocks are trimmed you should be left with an 1/8" space from edge of block and curved seam.
At this point, the W/P/T blocks are squared up properly and ready to be sewn together.
Now, let's square up our block to a 10" square. The W/P/T blocks have been sewn together, the triangles have been sewn on and seams pressed open.
Using a sharpie marker, make a small dot on the
3 5/8" marks at the upper right hand corner of a 10" or larger square-up ruler and the 3 5/8" marks at the bottom left hand corner beginning at 10" mark. These sharpie marks will aid in helping you locate the 3 5/8" marks on ruler easily. Sharpie marker can be easily removed with a little rubbing alcohol or finger nail polish remover.
(ignore the sharpie dot by the 4 - instead notice the sharpie dot over the seam. it is at the 3 5/8" from the 10" line)
Begin by positioning diagonal line on square-up ruler over diagonal center seam on block then line up triangle seams under the 3 5/8" marks on ruler. The diagonal seam and line on ruler may be off by just a bit but not to worry, it's more important that the triangle seams are under the 3 5/8" marks.
After all points and seams are lined up as close as possible, trim top and right edges then lift square-up ruler, turn block 180*, line up trimmed edges under 10" marks on ruler and trim remaining edges.
Hopefully by following these tips, you will have success at squaring up your Metro Rings blocks.
Remember our SKW patterns are pretty forgiving so don't fret too much! :) To locate this post easily in the future, just click on the Tuesday Tips page at the top of our blog, there you will find a link back to this post.
-Sew Kind of Wonderful-


9 comments:
Great tips! Cute blocks & nice fabric too.
Great tips, little more detail than the pattern. I have done 5 of your patterns now and taught three, they are all great! Working in Metro Scopes now for the fall schedule.
Thanks for the great tip. Was having a hell of a time squaring up these blocks, hopefully this will do the trick.
Worked great! I did use a 5" square, cut once on the diagonal, as my corner triangle, just to give myself a little wiggle room.
Thank you for the great pictures! I am teaching this pattern next week- this will help a lot!
I did a sample block with my new ruler yesterday!!!!!!
I loved it! I posted the process on my blog and couldn't say enough about fun and easy!!!
Cant wait to do a quilt!
jayne
Thank you for this detailed pictorial. I have this pattern and fabric and have felt a little apprehensive about starting it although I have used my QCR with great success before. I am a very visual learner and your photos and videos have always been a great help to me ... :) Pat
I just purchased the ruler and Rings pattern today. I was wondering if it is possible to cut one piece for the wedges so there would not be a center seam? I will be hand quilting, so one less seam would be great if it is doable.
I am rolling along on my blocks, but have a question. I have the two halves joined, and am adding the corner triangle. I am getting blunt ends to my melons- is this correct? Or should the curved seams and the triangle seam join in a point?
Thanks in advance for your help.
Post a Comment